Note: Fixing a leaking outdoor faucet is not a difficult process. However, if you do not feel comfortable performing the following steps, we recommend you hire a licensed professional plumber to do the work for you.
Tools needed
Steps to fix your faucet leak
STEP 1
Turn off water using the shut-off valve located at your meter box.
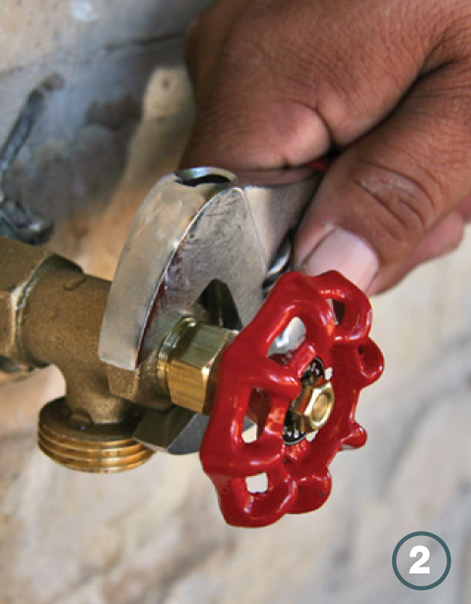
STEP 2
Using a wrench, remove the valve body at the large nut. Caution: These instructions are not to REPLACE the entire faucet-only to repair the valve.
STEP 3
If necessary, use a screwdriver to remove the nut that holds the knob together and remove the knob. (This step depends on the type of outdoor faucet used.)
STEP 4
Loosen joints on knob using penetrating oil (if needed).
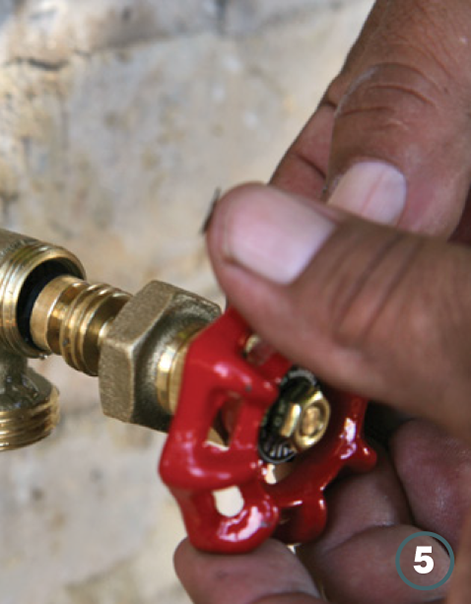
STEP 5
Use an adjustable wrench to unscrew nut and remove the faucet assembly from wall.
STEP 6
Remove the assembly and inspect it for corrosion.
STEP 7
If faucet assembly is stuck, soak the joints with penetrating oil for several hours. Once oil has loosened the faucet, hold stem with pliers and tap them with a hammer to pop the assembly off.
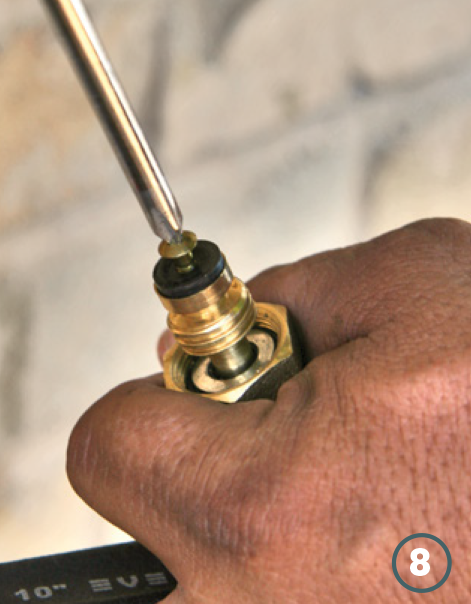
STEP 8
Remove the screw holding the assembly together.
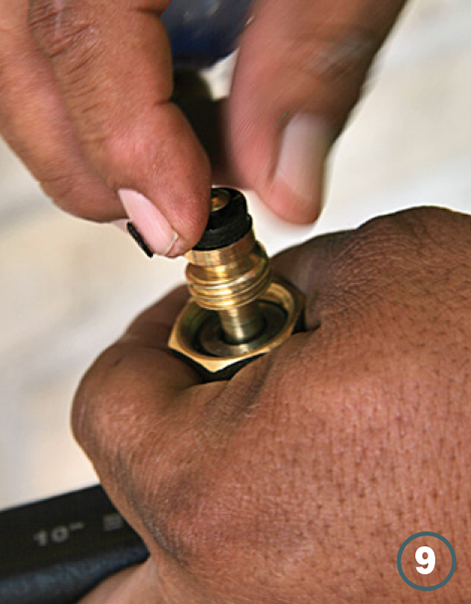
STEP 9
Use the awl to remove the old washer. Replace the washer; cover with plumber’s grease and install the washer.
STEP 10
Replace the assembly on the wall (see step 2 photo). Turn the water back on at the meter and check for leaks.