

Note: Replacing a flapper or fill valve is not a difficult process. However, if you do not feel comfortable performing the following steps, we recommend that you hire a licensed professional plumber to do the work for you.
Tools needed
- Adjustable wrench
- Replacement washer
- Flathead screwdriver
To find the right match for your toilet model, check our rubber flapper buying guide. Settling for a one-size-fits-all flapper can quickly turn your water-efficient toilet into a water waster.
Steps for replacing your toilet flapper
STEP 1
Turn off water to tank at the customer shut-off valve to the house.
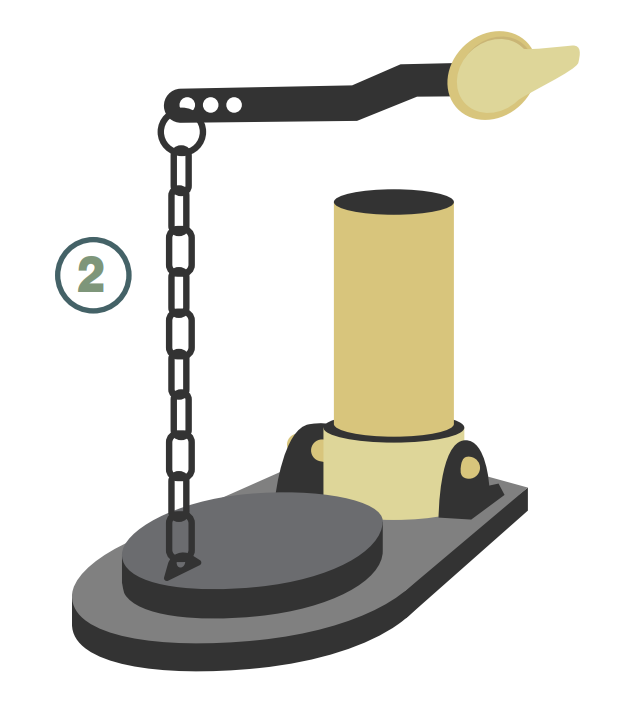
STEP 2
Flush the water in the tank. Note the length of the flapper chain attached to flushing handle.
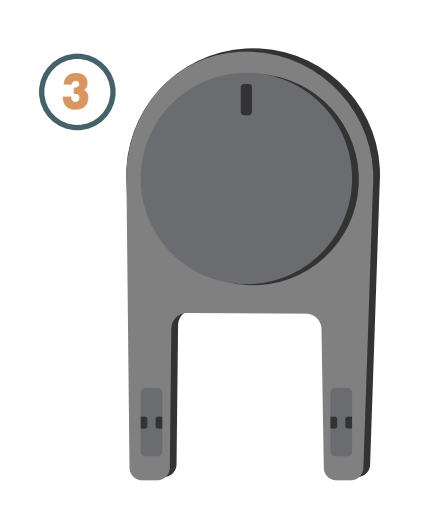
STEP 3
Remove old flapper.
STEP 4
Write down model of the toilet. Also note if toilet is a 1.6 gpf (gallon per flush) model. If the year of manufacture is before 1992, it most likely is not a 1.6 gpf toilet.
STEP 5
Take the old flapper and its information to a plumbing supply store. If your toilet is a 1.6 gpf model, purchase a flapper that keeps the flush at 1.6 gpf.
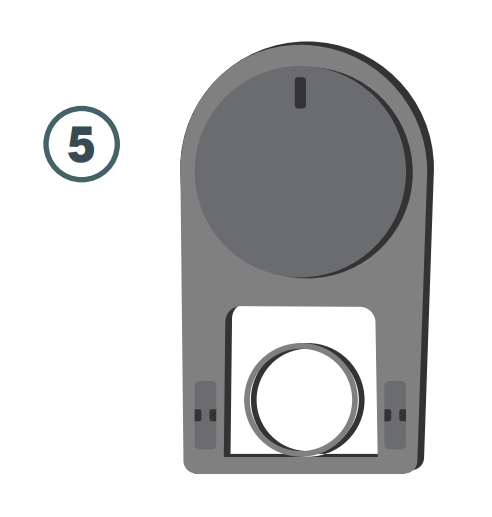
STEP 6
Be prepared to pay $2 to $10 for the correct flapper. Make sure you purchase the right flapper for your toilet. Installing the wrong flapper or a generic one could cause your toilet to use much more water than necessary. Visit sawsstg.saws.org/conservation to find the right match for your toilet model.
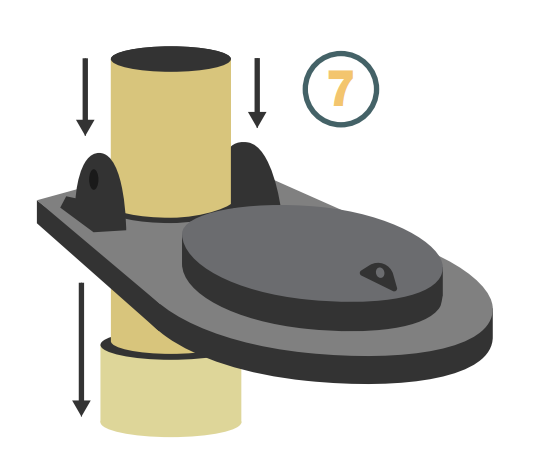
STEP 7
Install the new flapper. Adjust the chain as it was before you removed the old one. Turn on water and perform a test flush. Make water level and chain adjustments if needed.
It is very simple to check for a leaking flapper and leaking fill valve:
2. Once the tank is fully refilled after a flush, add some food coloring or a dye tablet. Put the tank lid back on.
3. Don’t flush the toilet again until after inspecting the toilet bowl.
4. After about 30 minutes, look in the bowl. If you see colored water, you have a leak.
WHY THE LEAK?
When the flapper (flush valve) fails to seal properly, water leaks from the tank into the bowl. The lost tank water is replenished by the refill valve, causing a continuous flow of wasted water.
If the refill valve leaks, the tank overfills and the excess water runs from the overflow pipe into the toilet bowl.